Water pump swap
With timing, fan and sender ruled out for the high temperature running I decided it was time to look at the water pump. Now it wasn't showing any of the signs of a failing pump, like leaks or play on the hub, but casting my mind back to the testing I did before the fan swap, it was possible that the impellor had rusted away (after all this was something I'd never removed in my ownership) and the flow of water through the radiator was just not enough to provide sufficient cooling.
Obviously a lot of the water has to come out of the system as the block will drain out of the front of the block otherwise. As I'd already drained the system recently I was hoping to avoid having to fully drain and refill it, so I elected to try and just drain the block itself by disconnecting the water pump hose.
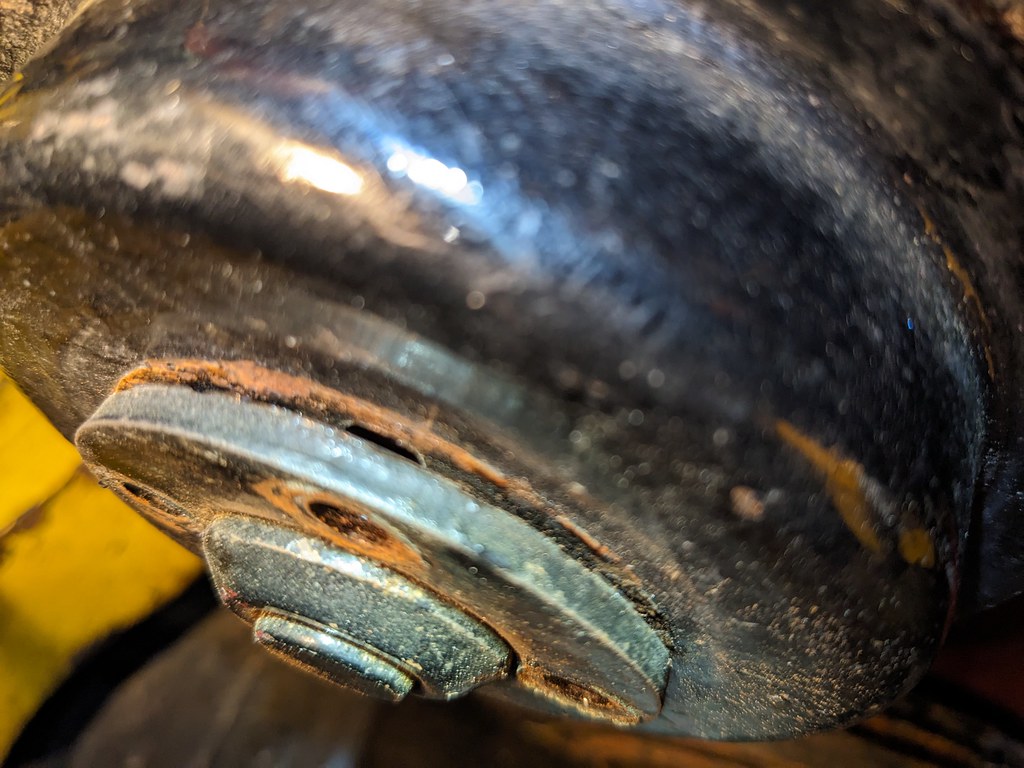
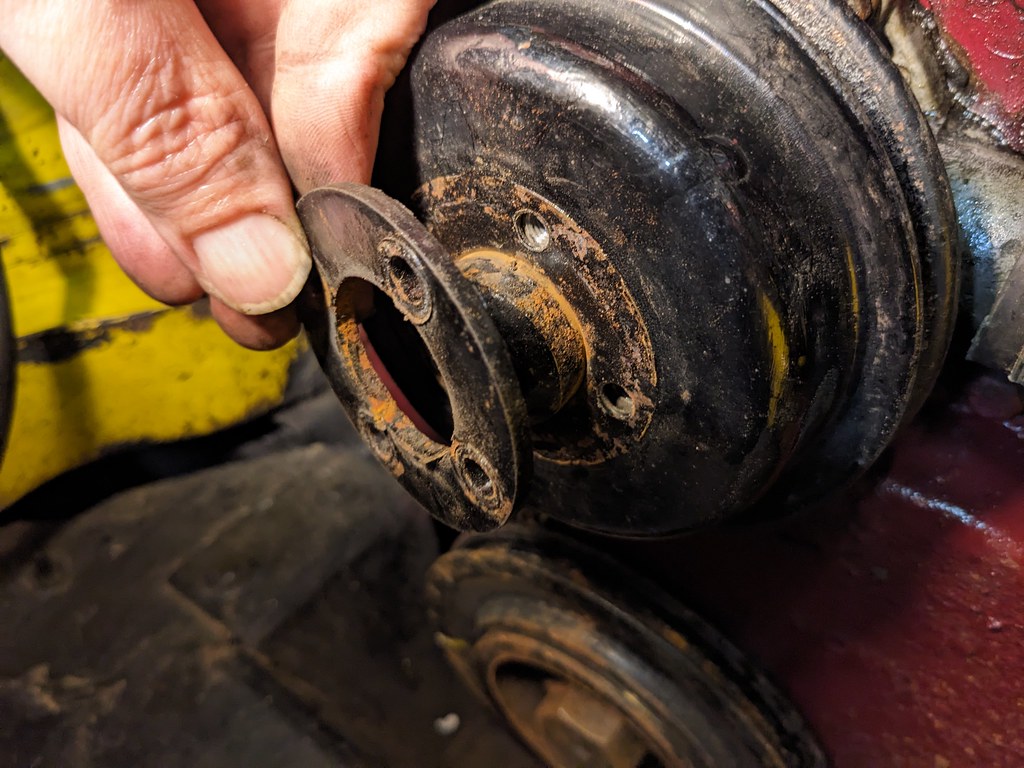
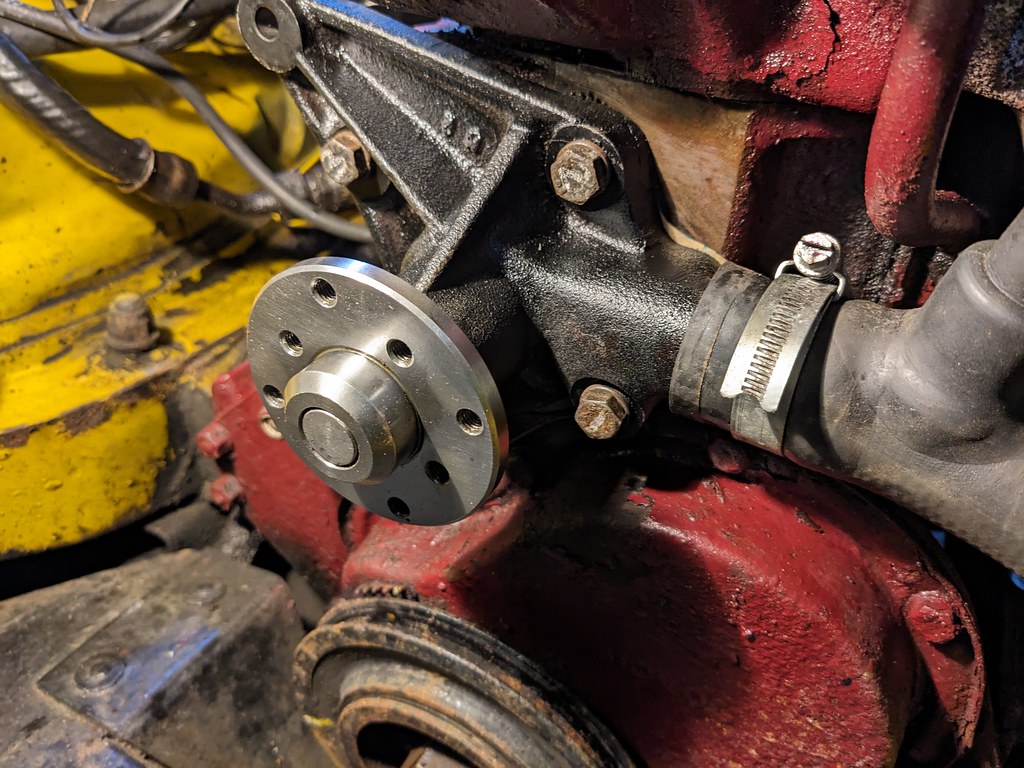
With at least some of the water removed I started to look at unbolting the pump. This was my first headscratcher as the front of the pump (the spool for the alternator belt) all looked to be one piece and it didn't seem to want to come off. However after a bit of poking it turned out there was a large spacer bolted to the hub and with that removed the hub could be prised off too.
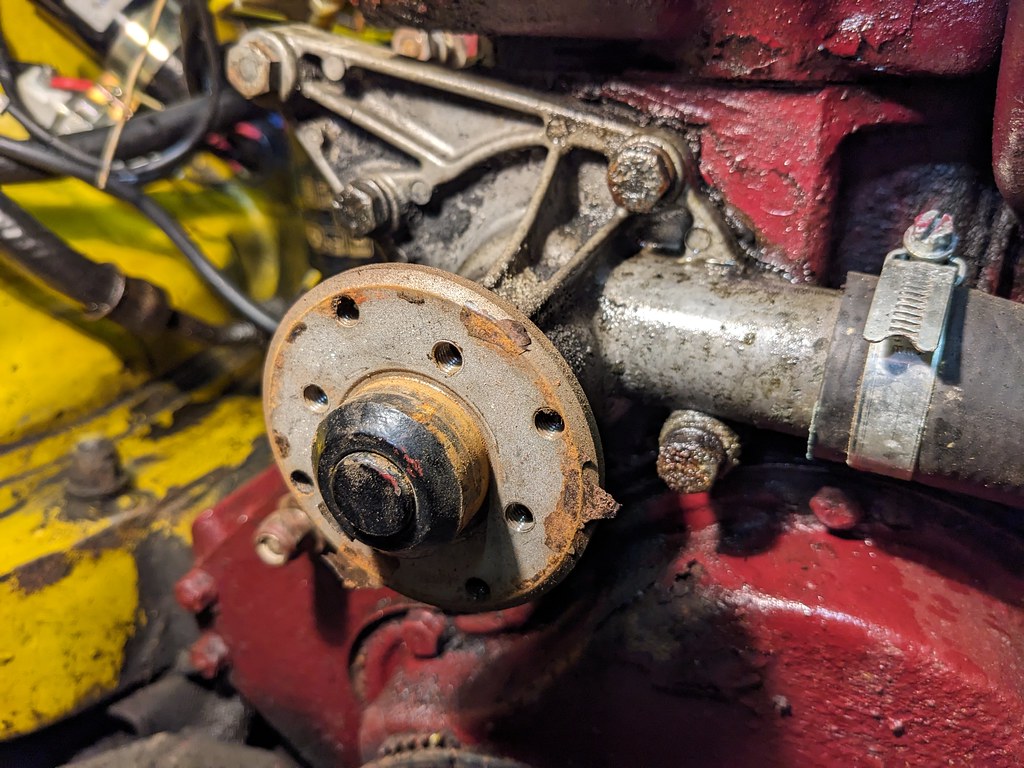
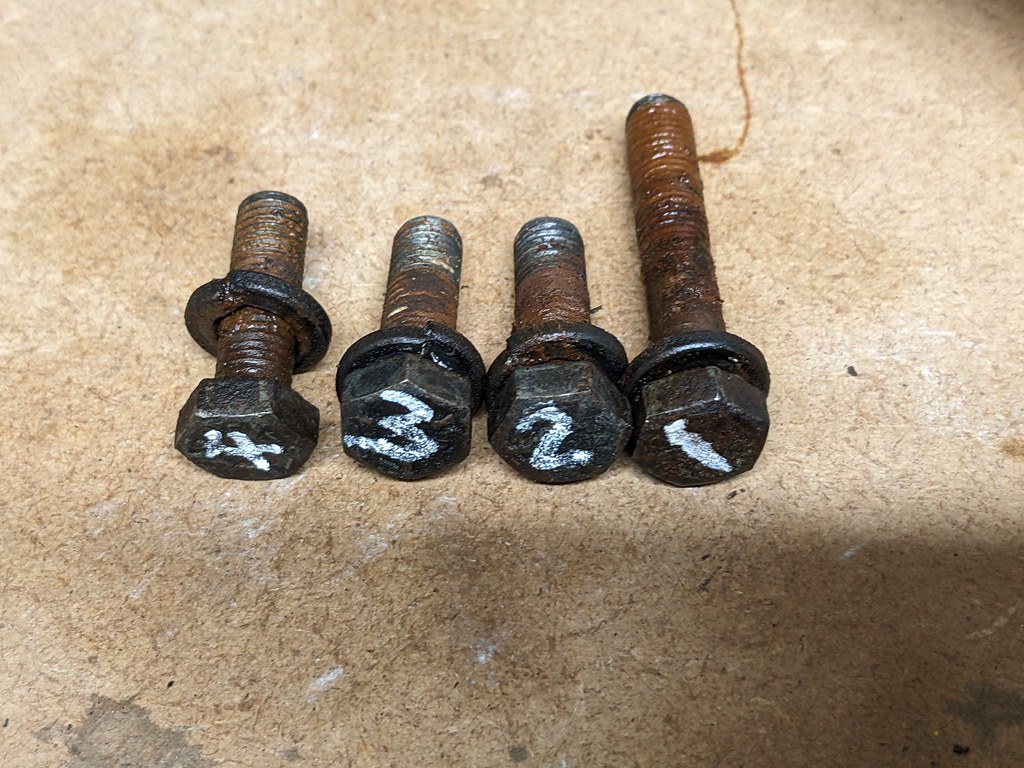
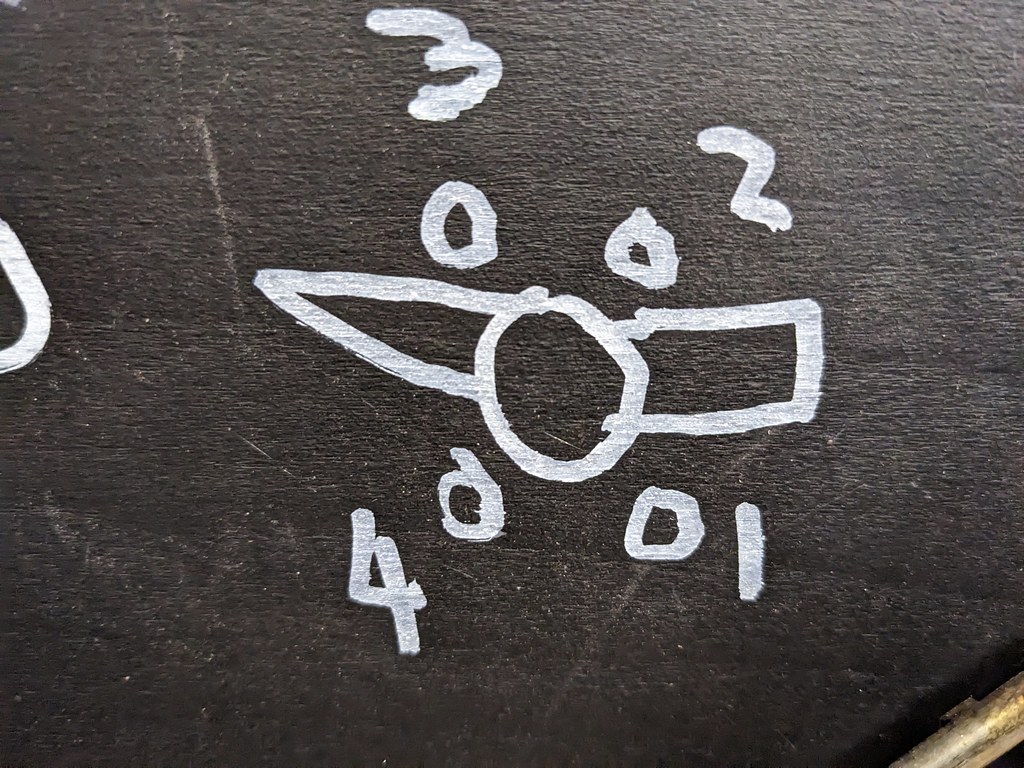
Water pumps are bolted to the block in 4 places. I'd seen some chatter about pumps having different bolt lengths and how they can interfere with the water jacket, so I was careful to number them for reinsertion. It turned out 3 were the same length with the bottom-right one obviously longer.
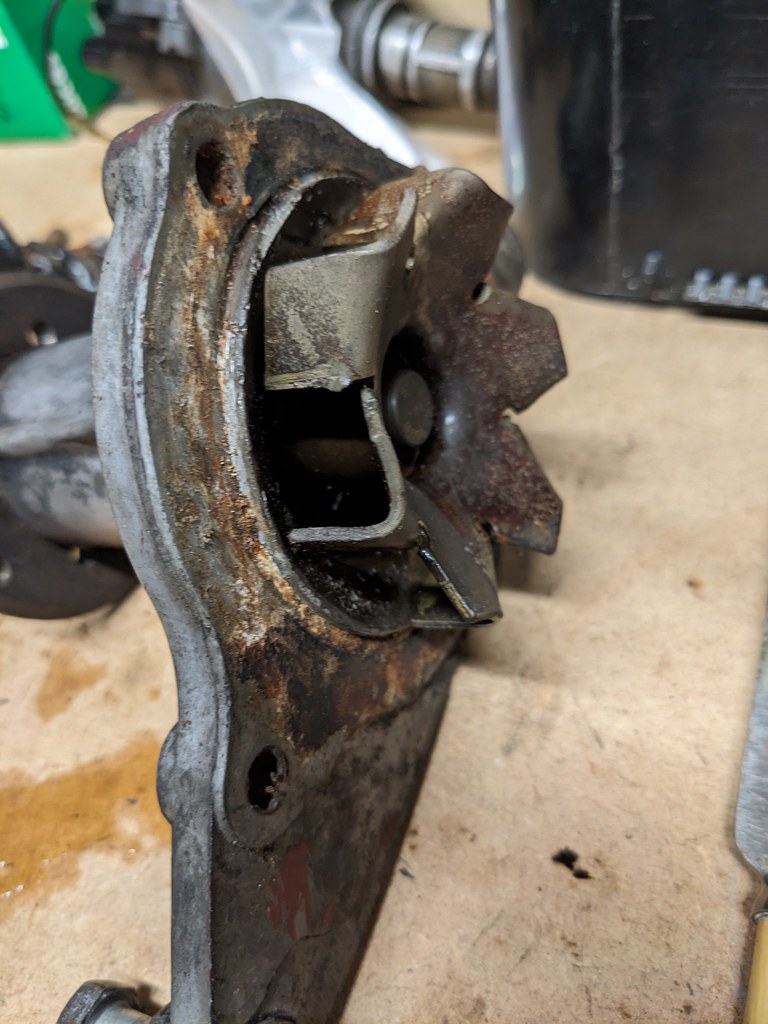
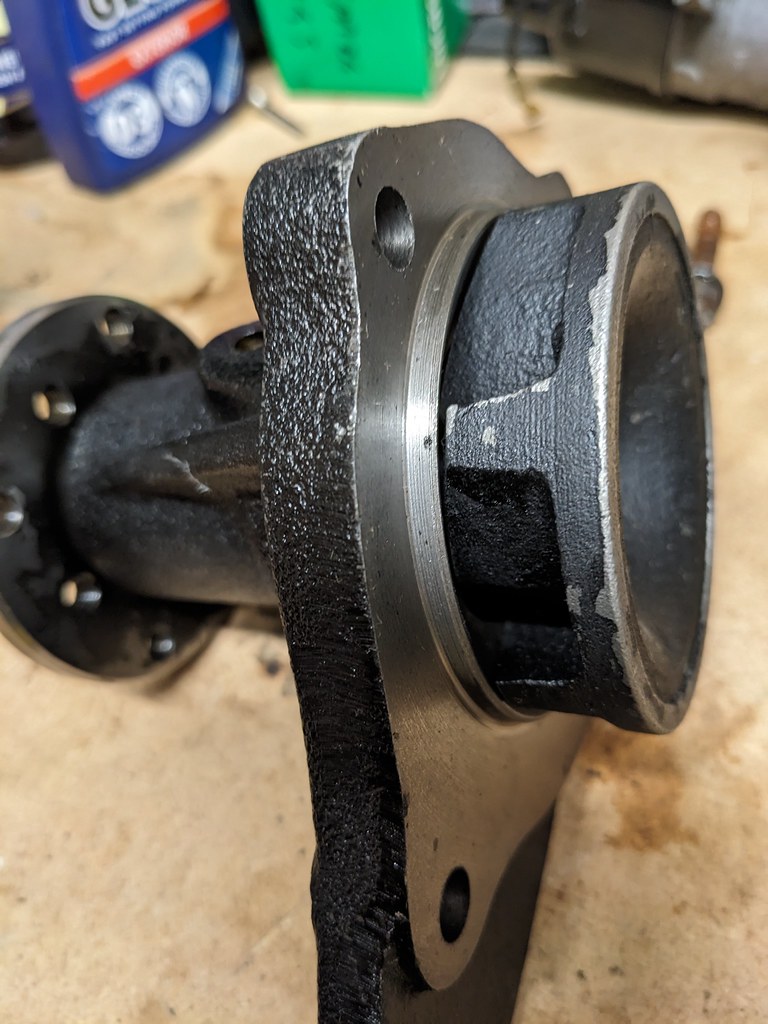
Removing the pump let out the remainder of the block coolant and after doing so it was a little disappointing to find the pump all in one piece - not the rotted out hulk I was hoping in order to explain everything. However a little reading and it sounded like this type of metal pressed impellor are not especially performant compared to the cast type I'd recieved as the replacement. This could actually be the reason.
With everything back in it was down to testing. Well, this ended up making a huge difference, dropping the indicated temperature by around 10 degrees. Now the car runs at higher speeds with the gauge just to the right of centre, whereas before it would have been halfway to H. At low speeds it might creep up to near the H zone but the difference is that when back underway it quickly returns to the normal position, before it would have sat at just off the H until we got back to high speed running (60-70mph).
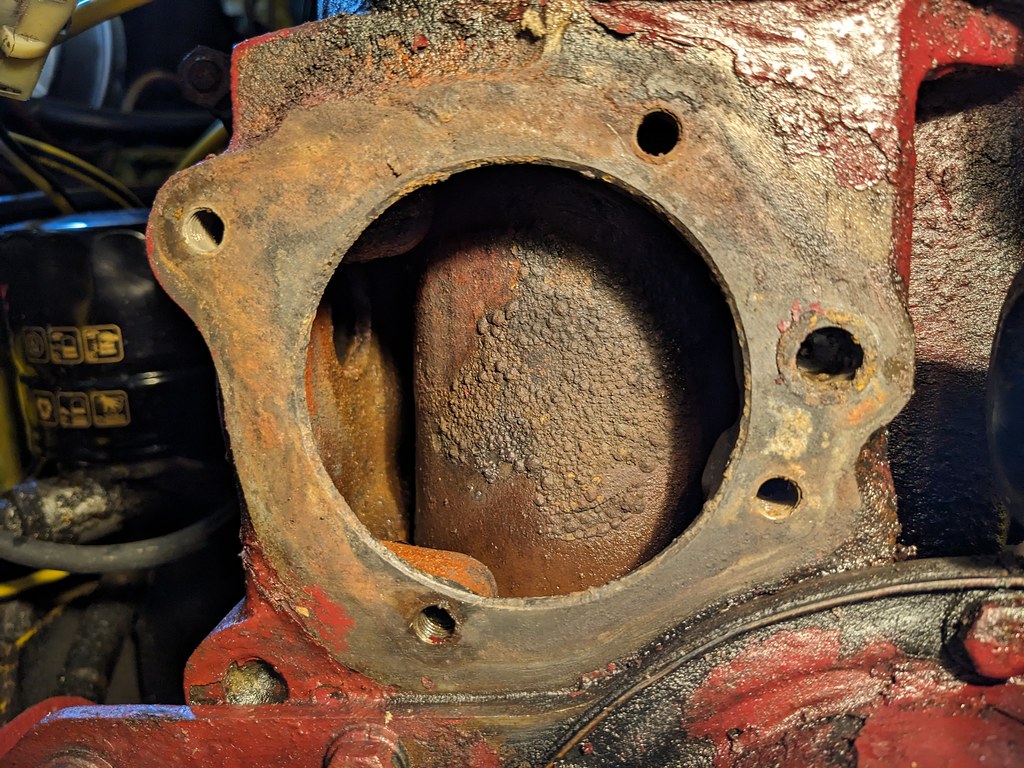
There might still be some work to do to improve things though. With the pump removed you can get a good view into the block and especially the side of cylinder one. On my engine it looked to have a fair bit of surface corrosion which would inhibit heat transfer, so I'm going to be trying out some engine descaler in the near future.
For now though this has tranformed the pleasure of driving. I'm no longer constantly keeping an eye on the temperature gauge and it means I no longer get worried about getting stuck in a traffic jam or having to do town driving.
