Replacing the heater valve
With the weather getting colder, the so-far neglected heater valve needs replacing to allow me some heat in the cabin. At the moment it is jammed on closed (probably a rusted return spring), preventing hot water from the engine block from circulating through the heater matrix.
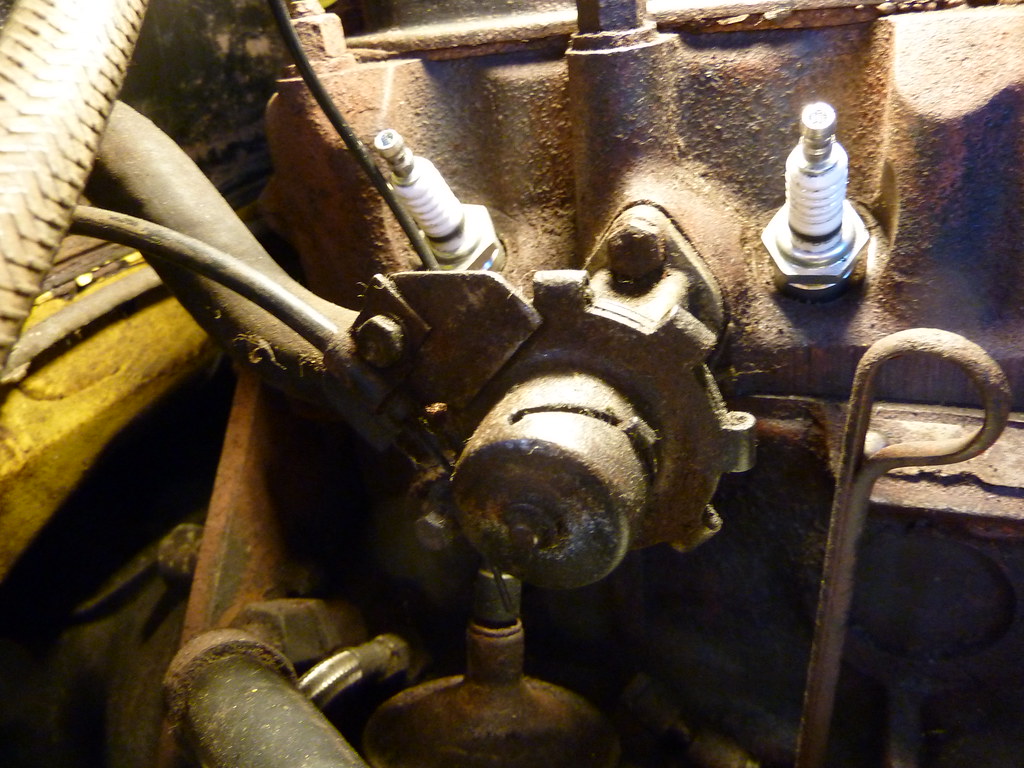
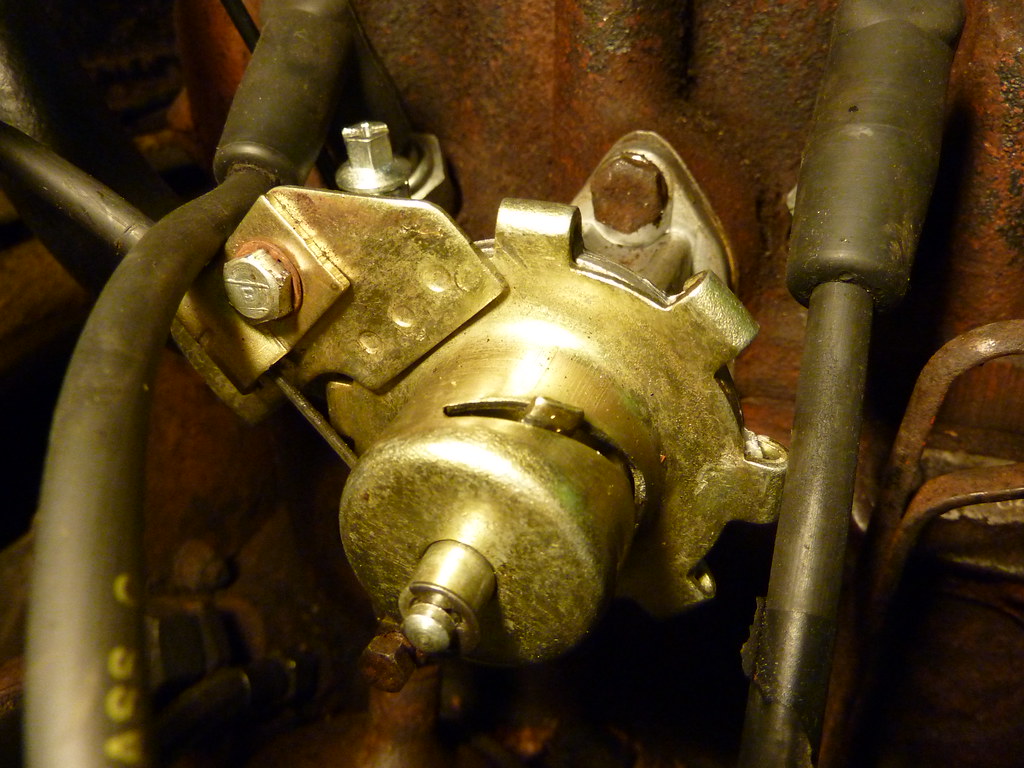
There are two bolts holding the cable in place (running from the dial on the dashboard), one holds the cable sheath in place, so allowing the internal cable to move independently. The other bolt has a hole in the side to accept the cable itself and tightening the bolt winds the cable around it. This bolt needs to be tightened fully, winding the cable several times around the bolt for the valve to be able to be fully opened.
Removing the valve is not too difficult as long as you have the right tools. The valve is held on by two bolts into the engine block. The top one is pretty easy to remove, but the bottom one is made much more difficult by the close proximity of the oil filter, dizzy and lower block, so requiring a short spanner or small socket set. We removed the top one and then rotated the valve to give access to the bottom one. However this is not possible to do in reverse else you might shred your new gasket, but luckily we managed to find a short spanner - the '60s toolbox coming to the rescue once more!
Interestingly, when it came to trying out the heating I found that the two dashboard vents are not part of the heating system and are only fed by the air-dam vent in front of the windscreen, giving only cool air. The heating is provided to the vents on top of the dash for de-misting and (once the lever is in the right position) to the foot-well vents. Still, the amount of heat being produced and the size of the cabin should mean the cabin stays toasty in the winter!