Front suspension rebuild - Part 3: reassembly
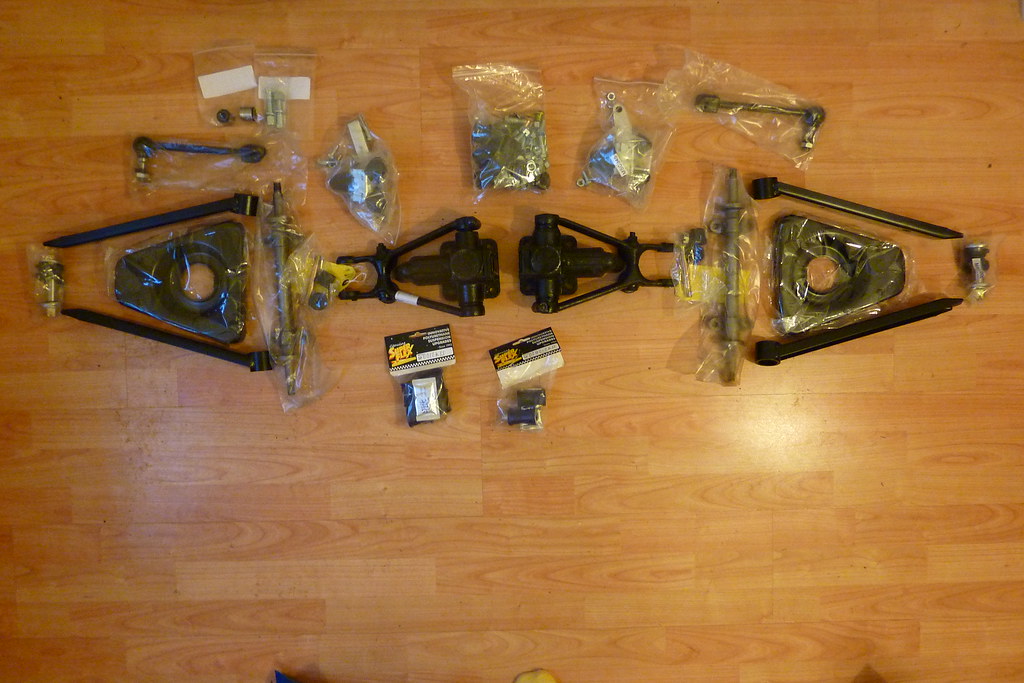
Reassembly was speeded up by the use of new parts and this was a real pleasure after the hard work of removal.
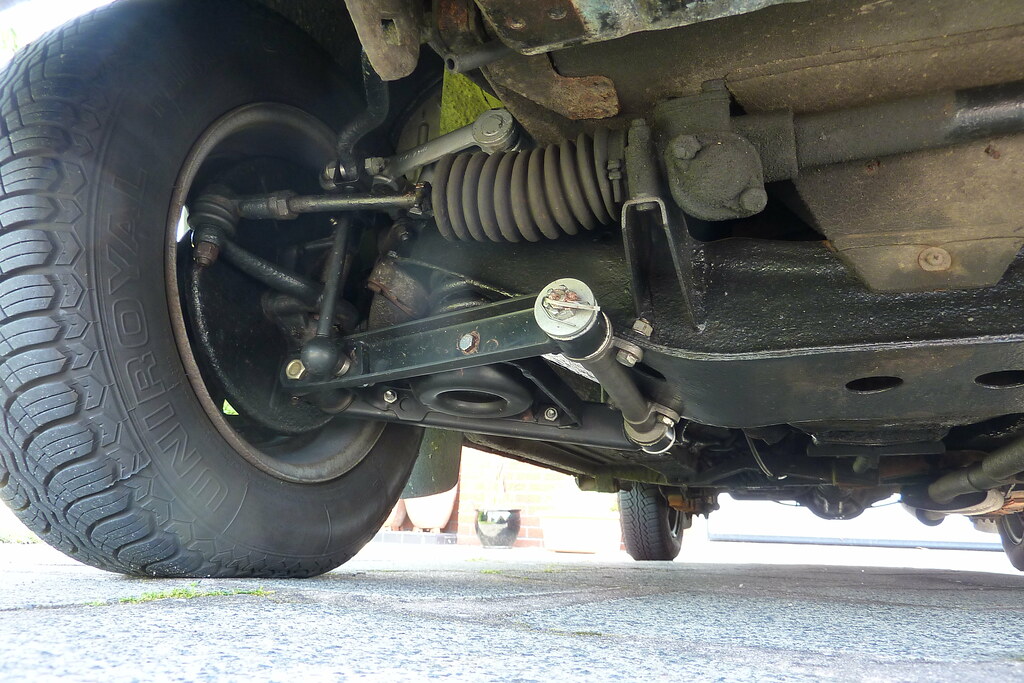
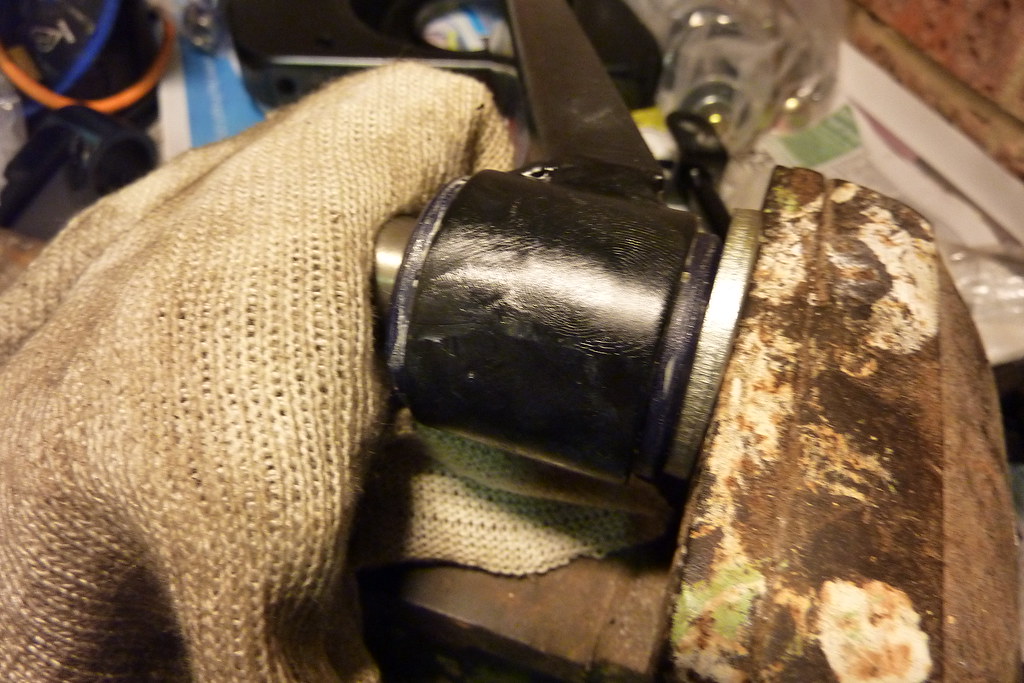
Once I knew I was unable to get the first spring pan released form the A-arms I decided to go for the front suspension kit from MGParts. While I wouldn't need all the parts this included (I'd be using my current bump stops and didn't need the bushes) it still worked out cheaper than buying the other parts individually. To go with this I had already bought the SuperFlex blue polybushes. Additionally as my lever arm dampers (LADs) wer both leaking I ordered reconditioned units to replace these. LAD replacements can be had for under £20, but I'd read a bunch of negative comments about these on the forums with some people having to return a couple of units following failures. To avoid this as I was on a tight timeline, I went for the 'posher' units which had had their internals renewed. At around £50 (plus a deposit until you return your old ones) these are pricier but my reasoning was that I only wanted to do this once. Unfortunately the first set I had was missing a seal from around one of the arms and there was a marked difference in the resistance in arm movement between the two LADs. These were returned - the supplier couldn't replace them - and a different set of the same level of recon unit were obtained from the MGOC Spares department. Lightning struck twice as one of these LADs had had it's upper arm bolt removed and the joint welded. A quick call to the club had a replacement delivered by next morning and the offer to cover the cost of returning my old units as an apology (good service from the club).
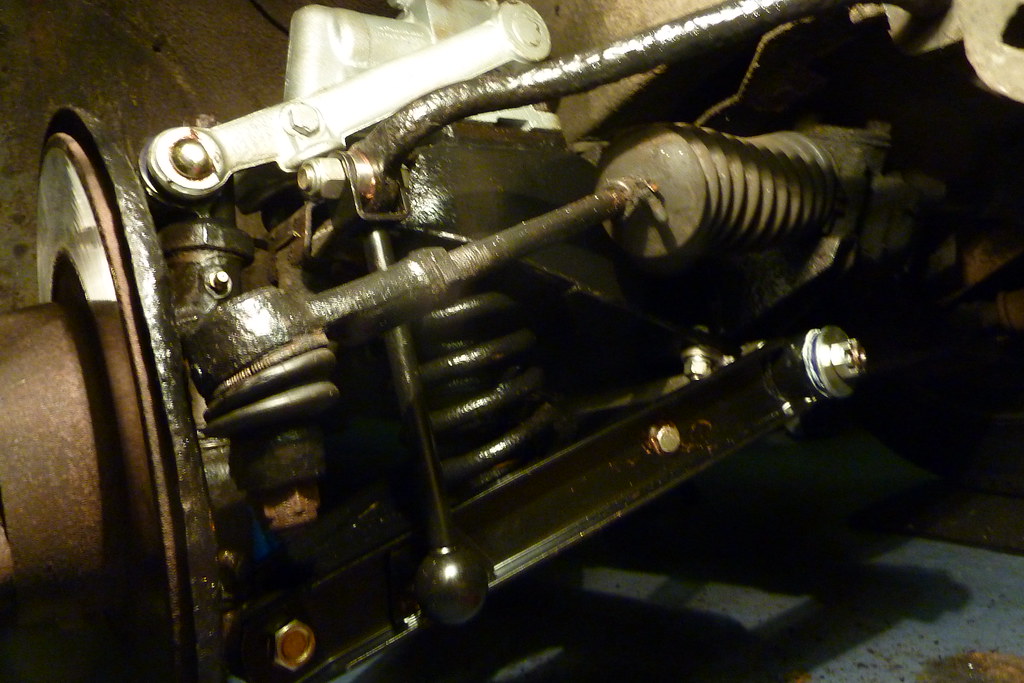
The A-arms, lower trunnion and pivot arm went together easily with the new polybushes and plenty of copper grease to make future removal easier. When I say easy, that's if you remember that the front A-arms (which connect to the drop-links) are handed - the reinforced drop-link hole sits with its wider end at the bottom - if you don't get this right you won't be able to connect the spring-pan bolts and lower trunnion.
What I couldn't get to work was inserting the spring coil with the spring pan angled (with a couple of bolts acting as hinges). To overcome this I sat the spring-pan on my trolley jack, clipped the coil into its receiving cup in the crossmember and raised the pan until I could insert each bolt. This worked really well, though at times I wish I had another jack to help!
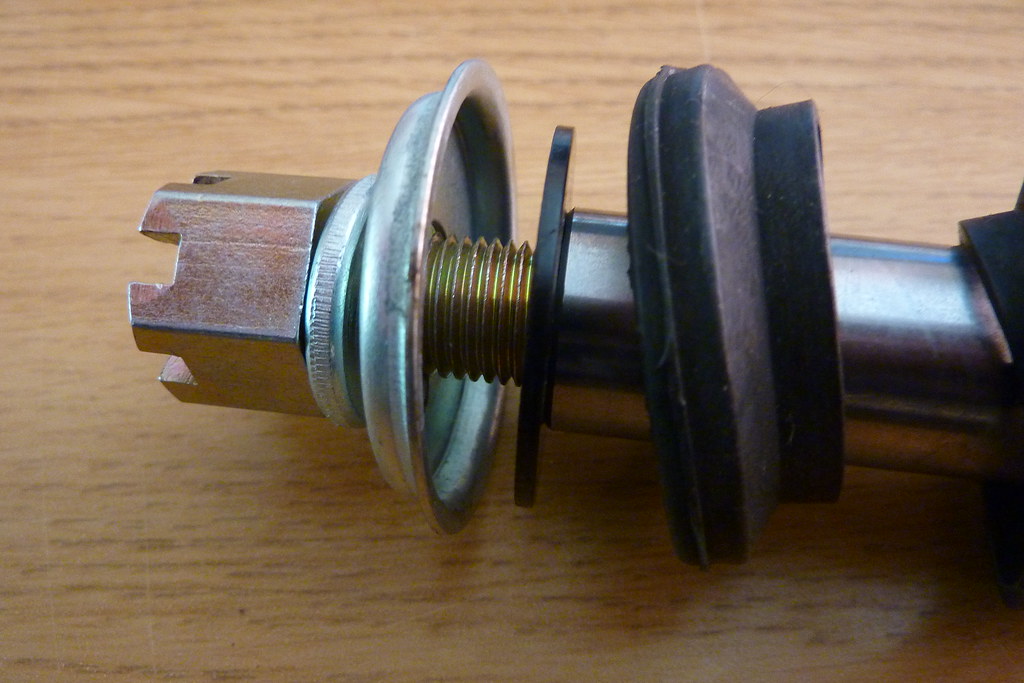
The major pain point with the reassembly was the top trunnion as the polybushes keep wanting to pop out. In the end I loosened up the bolt between the LAD arms to allow extra room to insert the trunnion.
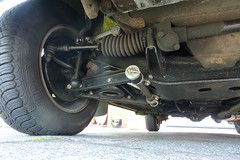
With everything in place, before I dropped the car onto it's wheels I loosened off the inner A-arm bolts and top trunnion to allow the bushes to flex with weight on. Once the suspension had weight on it and I'd bounced it a couple of times to settle it in, I tightened up the bolts and dropped in the split pins.
By this time it was nearly 10pm, but it needed a test-drive! A quick blast around the empty night-time local roads showed me what I'd been missing - a much smoother ride and no body roll through corners and roundabouts! Next morning a trip down to my local garage to have them check my work over in the interests of safety. A clean bill of health and I hit the road for a 150 mile trip to see family - smoothest trip yet!