Fitting an AccuSpark
After the failings of several condensers, I picked up a little AccuSpark unit at the Classic Car Show at the NEC. I finally got around to fitting it and it turned out to be pretty easy.
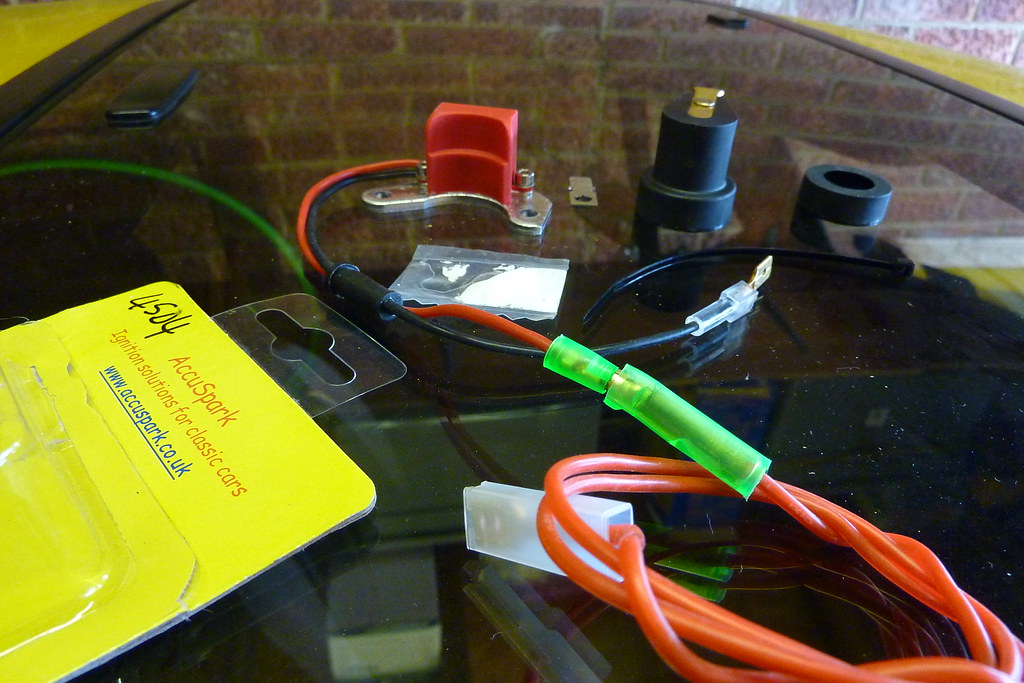
The unit replaces both the points and the condenser, hopefully making for little or no maintenance issues behind the dizzy cap. The little kit cost around £30 and comes with the base-plate with sensor attached, a trigger ring with integral rotor arm, a separate trigger ring to let you re-use your existing rotor arm, all the wiring ready to go and a little sachet of silicon paste to apply to the bottom of the unit before installing.
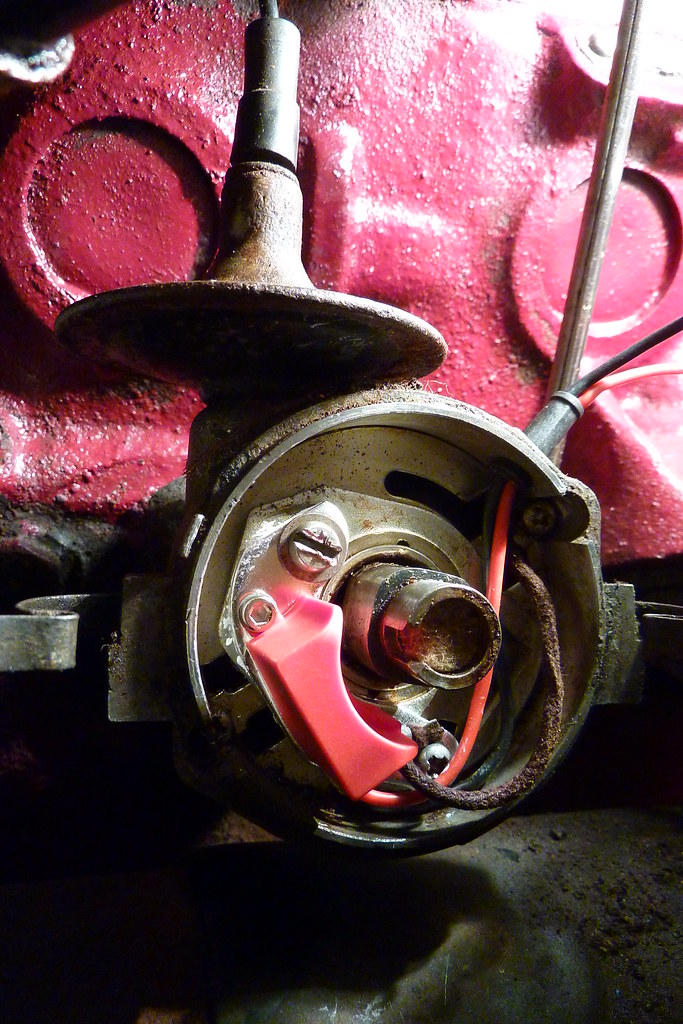
Fitting the unit is straightforward, I have a ballast coil which AccuSpark recommends you test to make sure has a resistance of no less than 1.4 Ohms. I checked mine and it read 1.5, so I could do the 'easy fit'! I did have to remove one wire from the coil on the + side to make room for the extra wire (the red one) coming from the dizzy. This was a coil radio suppressor which stops radio interference; I'll live without it for a while and see if it makes any difference not having that - they apparently didn't work so well anyway. The other wire (black) from the unit takes the place of the old black wire to the neg. side of the coil. The earth cable inside the dizzy is simply reattached in the same place it was before (I say simply, but if you've tried working on a B's dizzy in-place you know it isn't simple!).
I threw my old points, condenser, rotor and base-plate into the boot as emergency spares as they don't take up any room.
First fire-up seemed to have quite a difference. It started up easier and needed less choke, so that appears to be a good start. Next proper run will test this out for sure.