Swapping out the radiator fan
Cooling is the issue. Whlist the B has never overheated - a term characterised by plumes of steam - it has always run close to, or when in traffic actually in, the H zone of the temperature gauge. This has only ever meant it has bogged down somewhat when town driving as there isn't enough cooling air moving through the radiator. However it makes for less than relaxing drives, especially when this can even happen when doing anything under 40mph on country roads.
I started looking at exactly how hot the car was getting, taking measurements at the inlet and outlet of the radiator and how the fan manages to affect that temperature when it kicks in. What I found was that the fan was only maintaining the temperature of the radiator, but not reducing the temperature. That was an issue.

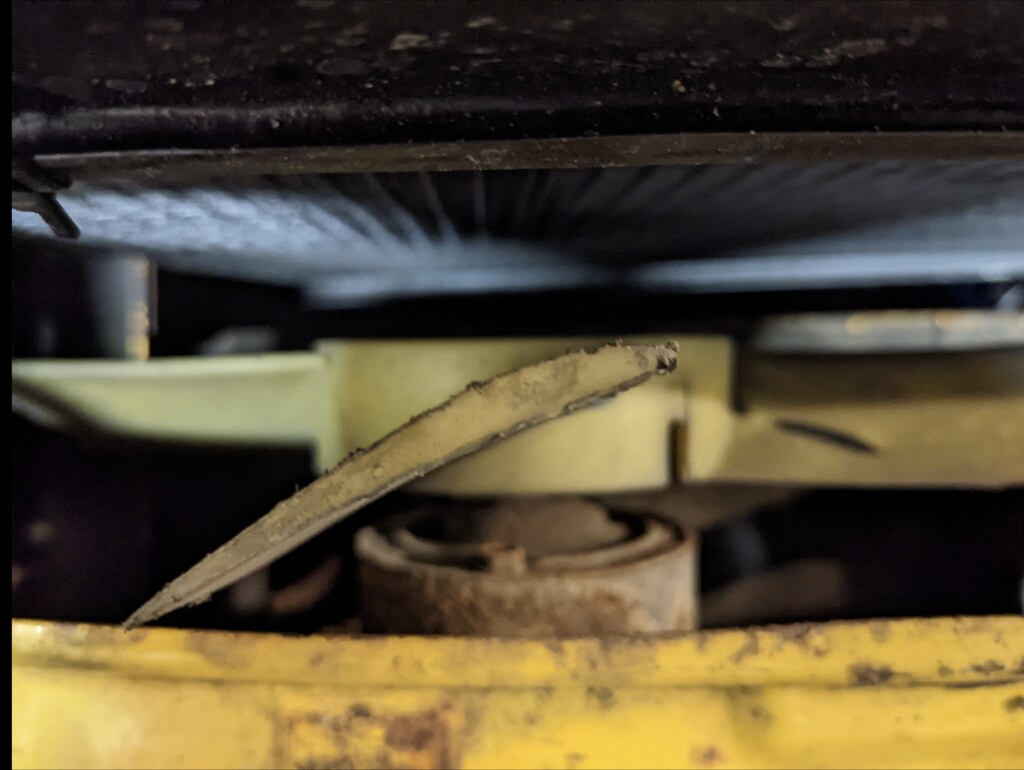
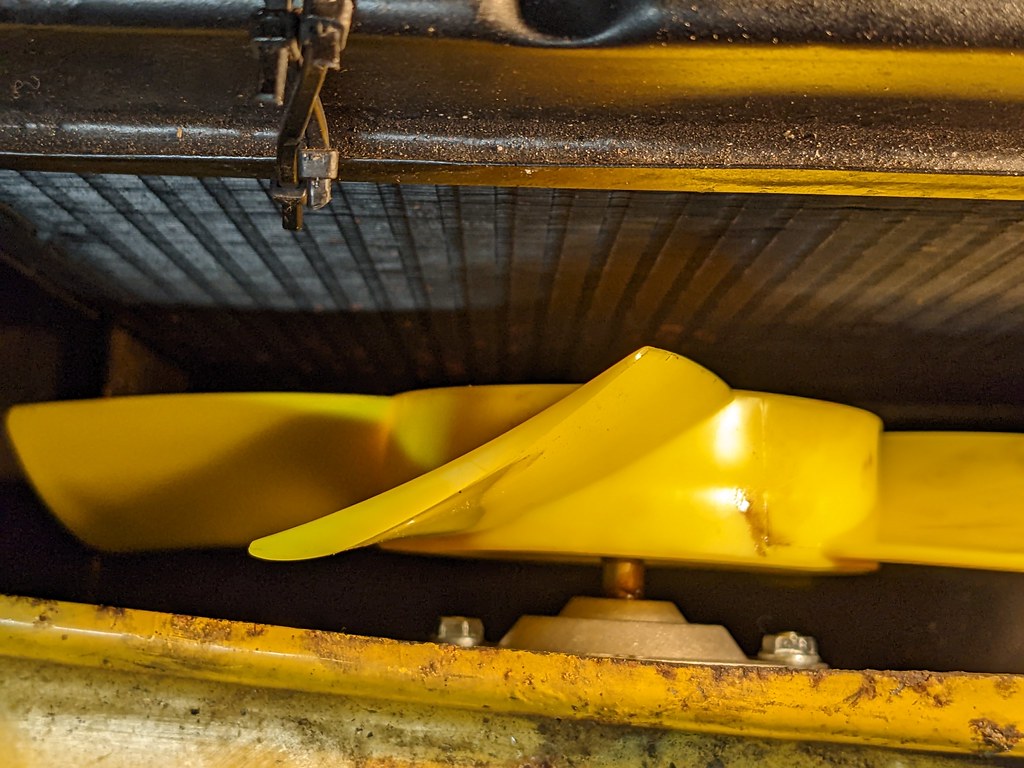
A discussion on the MGOC forum made me take a look at the orientation of the fan. The blades of the fan are not flat, they are curved but also thicker on one edge than the other, just like a plane wing. On all the technical drawings the fan is shown as it presented on the car - with the thick edge towards the radiator and the curve facing the way it wants to push air. But when inspecting the direction the fan moves in this doesn't make sense as it means the fan is not going to be working at full performance. More confusingly all the diagrams of this assembly in the manuals and parts catalogues also show it with the incorrect orientation. As the blade is bolted to the motor, it should be a matter of undoing the bolt and flipping the fan around. This would mean it would scoop the air into the radiator. But of course it is never that easy.
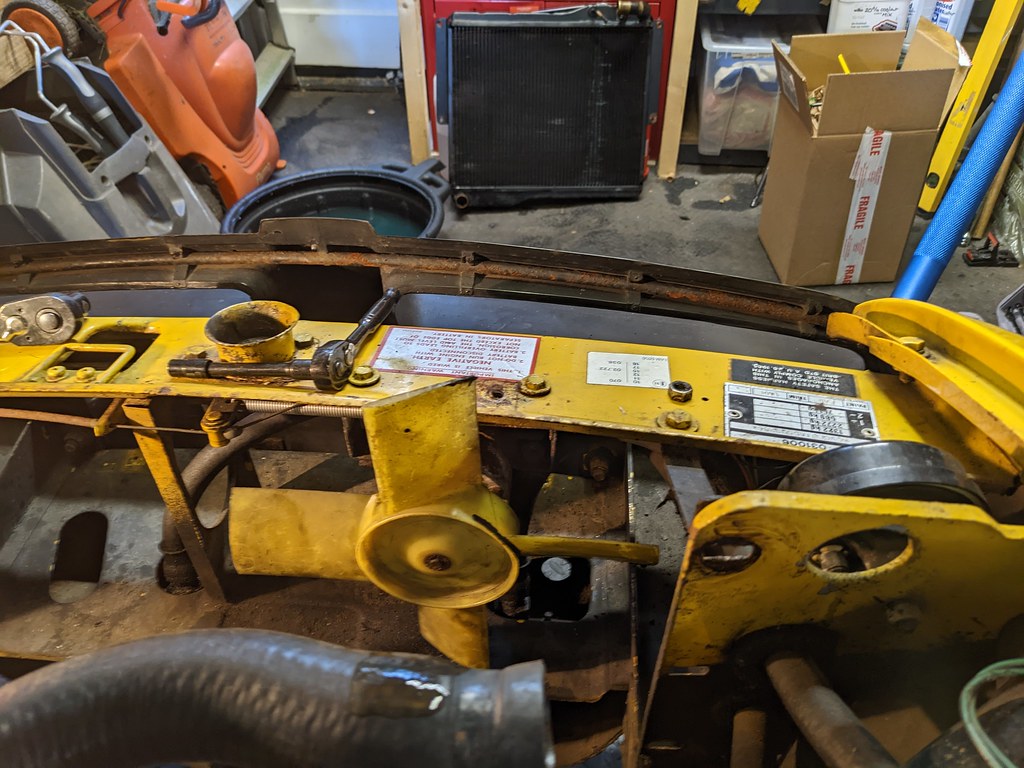
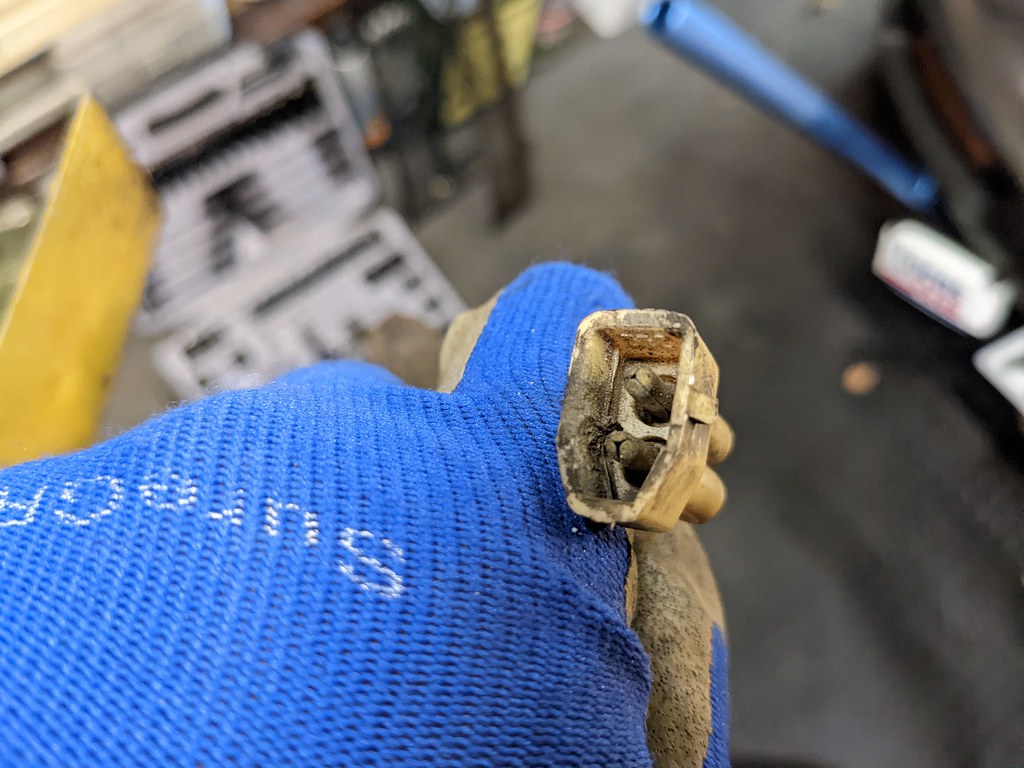
First issue was the bolt holding the blades to the motor had seized to the motor shaft, and then the head of the bolt sheared. This meant easy removal was out. The size of the assembly meant I'd need to remove the radiator to extract it. With the radiator out, thankfully the motor mounts didn't put up too much of a fight but on removal it was clear the fan and motor had become inseperable.
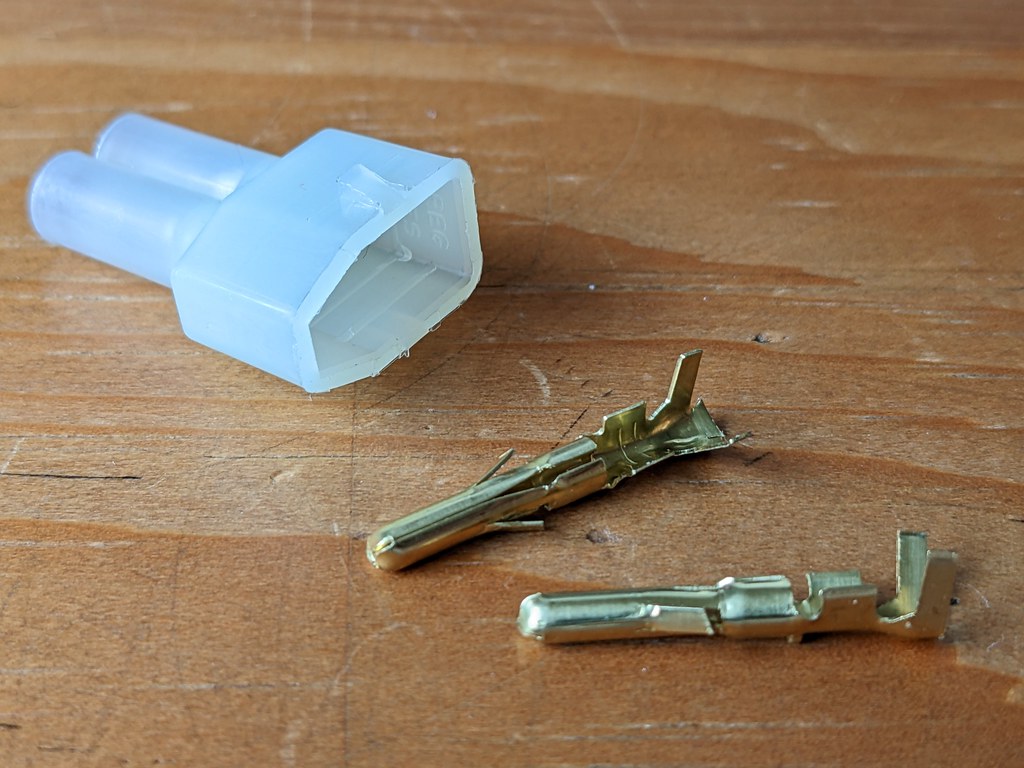
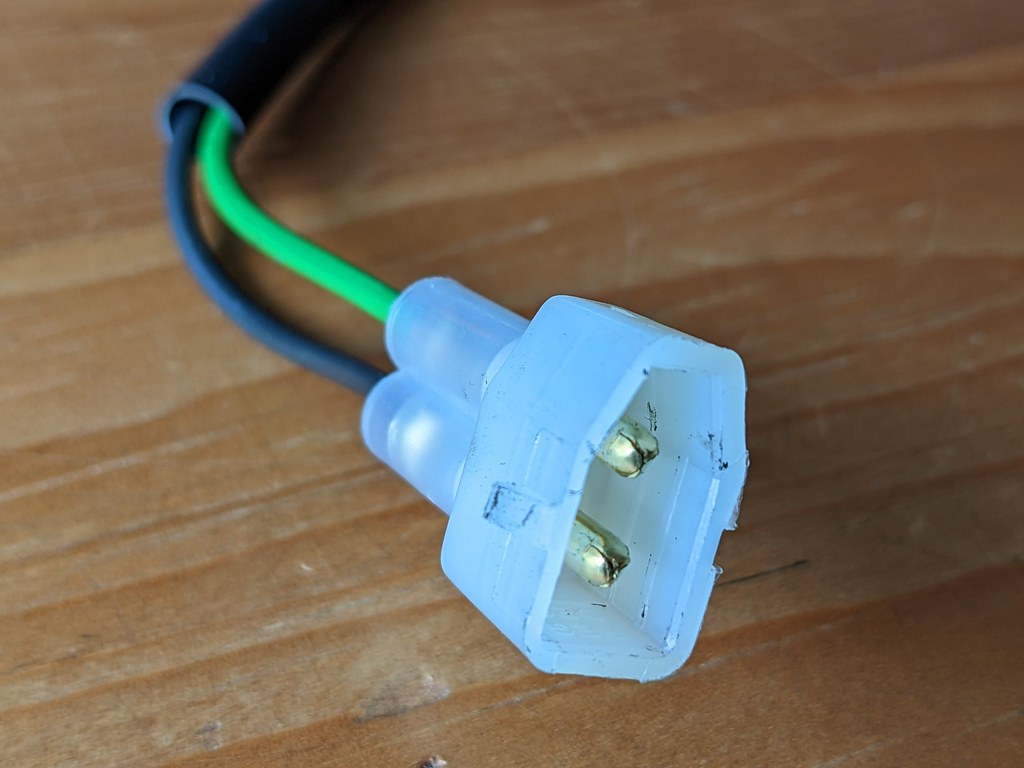
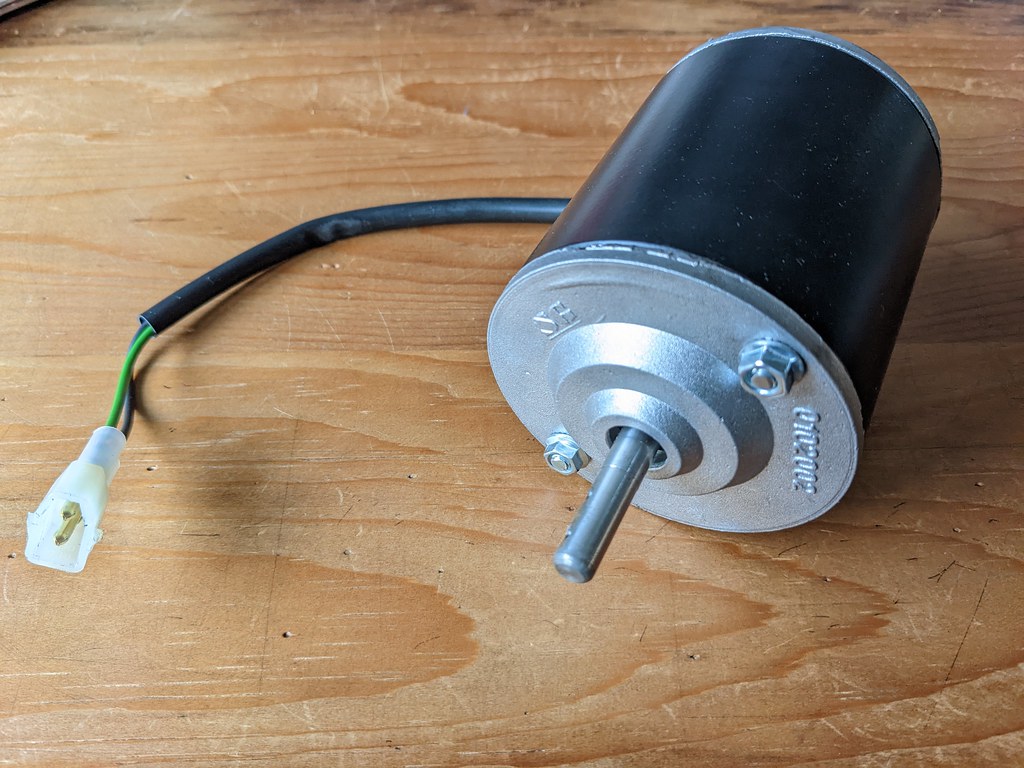
Time for new parts, including sourcing the rather unique Lucas connector which the new motor didn't come with. After a bit of searching I managed to find out this was called a Lucas Rists 2-way moulded pin connector and sourced a supplier. This connector's pins have barbs on them which lock into place inside the moulding which makes them non-reusable.
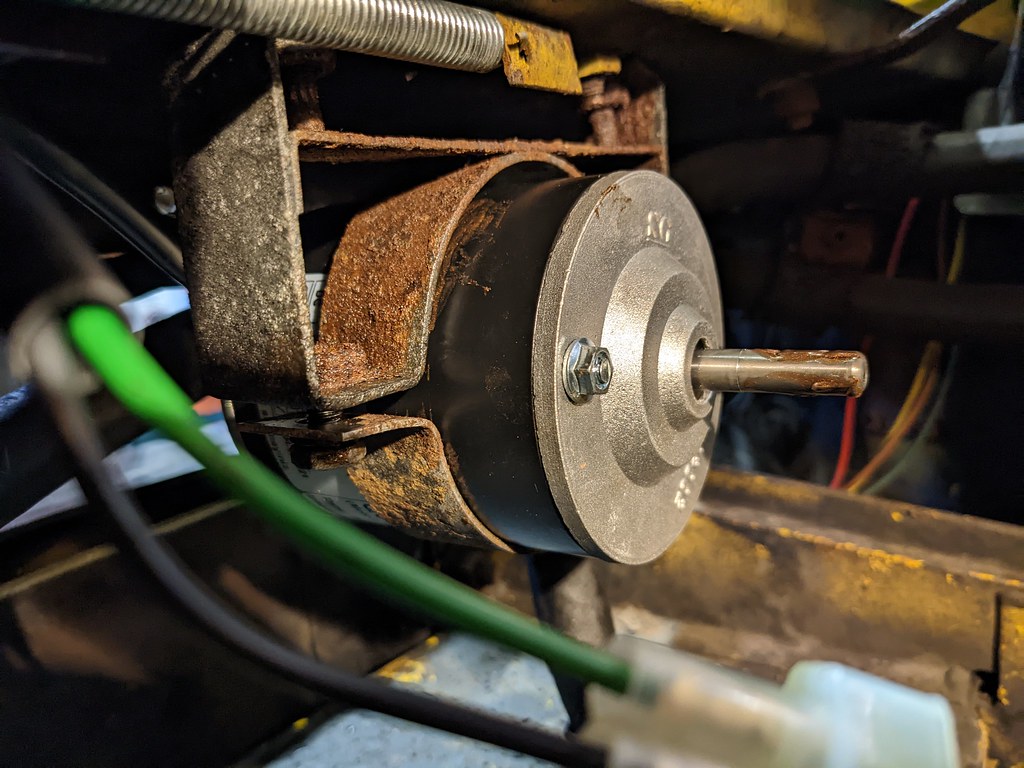
The new fan blades are eye-wateringly expensive - £45 for the pastic fan which is even more than the £38 motor it attaches to. So along with the new connectors and coolant refill this is not a cheap modification. Lots of copper grease was added to make sure if I needed to remove the blades in the future I could.
I would have liked to have cleaned up the brackets holding the motor before putting the new one in, but the bolts holding it in were seized even after soaking in release fluid and I didn't want to end up with sheared heads and another job. I was thinking as I couldn't separate them, of reusing the old blades and motor as a second fan. This is something the V8 had fitted and so there were brackets available (though it would mean drilling the slam panel). So if I went down that route I'd tackle the state of the old bracket then.
With everything hooked up it was time for a test-run. Turning on the ignition and shorting out the temperature sender from the radiator - nothing. I hooked up the old fan (held in a vice to avoid hard-to-explain injury) and still nothing. Turns out I had a loose wire in the new connector and due to the barbs on the connector meaning it couldnt be reused, I ended up ordering a new one to make it good.
Second go and it worked. I needed the radiator back in to get the position of the fan correct, so the front grille was removed to allow access to the bolts, so I could leave the motor body slightly loose.
So with it now the correct way around, does it make any difference? I redid the tests, measuring the input and output temperature with an infared thermometer and it seemed like it was helping, but only a little. I certainly didn't see the drop in temperature I expected.
I'm happy I've done it as I know now this is correct (by physics if not the manual) and I have another fan for a future project. But I need to look elsewhere for the excessive heat issue.