Changing the brake pads
The front brakes have never been as 'tight' as I wanted and I knew they could be better. The pads looked to be halfway down or worse, so I wanted to see if a new set would make a difference.
Changing the pads is one of those jobs which is pretty easy, though with a couple of possible trip-ups. Once you've got the front tyre off the first thing you need to do is locate the two bolts holding the calliper onto the hub. These bolts are on the reverse of the hub, near the bleed screw. Between the two bolts is a flat piece of metal called the lock tab. The purpose of this is to ensure the two bolt heads do not move, and to do this each end of the lock tab is bent over against a flat side of the bolt head, securing it in place. A thin-ended screwdriver and small hammer will take care of this, but the tab will need to be fully straightened to allow a socket to fit over the bolt head.
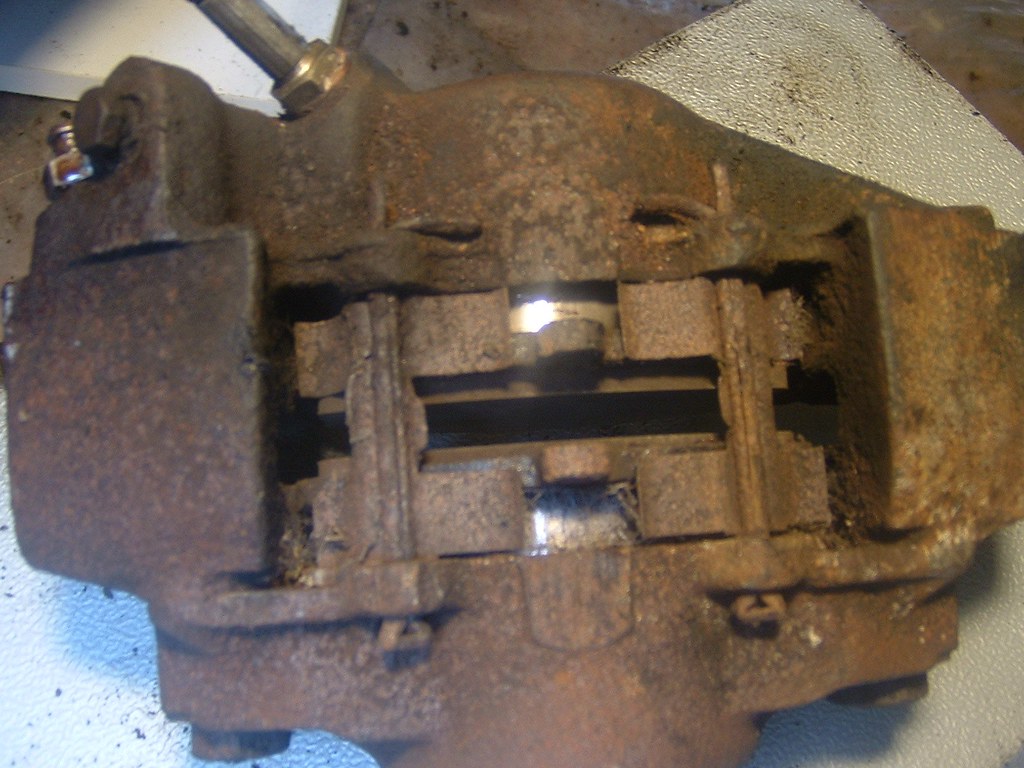
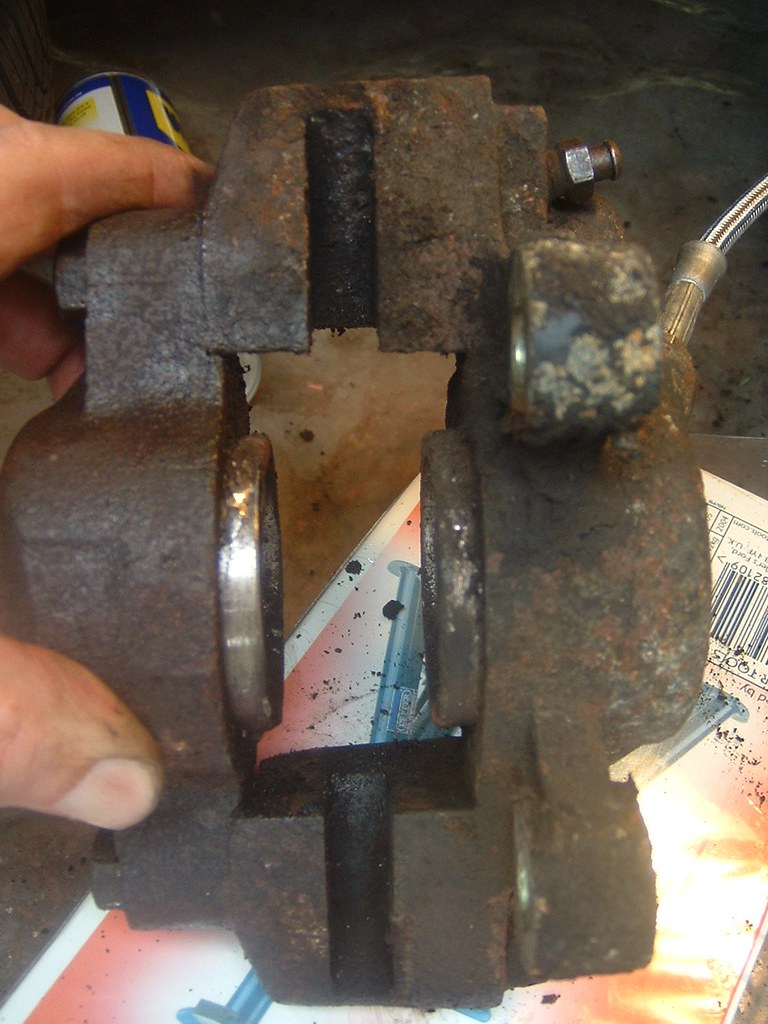
Before you slacken off the bolts, ensure you have something to rest the calliper on to prevent pulling on the brake hose. Once these two bolts have been removed, the calliper should slide off the disc. Next up is to remove the pads. The pads are held in place by two H-shaped sprung clips which are tensioned by two split pins (fig 3). Having removed the pins the clips should drop out. The pads might need a little tap to loosen as they will have probably stuck to the calliper pistons. I found that mine were at least half-way worn and one was almost down to the backing (fig 1 shows the old pad, right compared to the new one, left).
As you will be putting new pads in, you will need to push back the pistons (shown in fig 2 as silver) as the new pads will be that much thicker and you need enough room between them to fit the calliper back over the disc. I had read that undoing the bleed screw would allow you to push the pistons back by hand (as you aren't pushing fluid all the way back to the cylinder), but this didn't work and trying it just left me with a puddle of brake fluid. So instead I resorted back to the standard practice of taking the top off the master cylinder in the engine bay and using a small G-clamp to force the pistons all the way back.
Now drop the new pads into the calliper, place the sprung clips on top of them and add the new split pins, but don't split the pins until you've checked it all fits back on the disc. Once it's all back in place, bleed the system. Result - the MG now stops when I want it to, giving me much more confidence.